Advanced Campaign
The Advanced Campaign option provides options to control all aspects of your email to include advanced features. This campaign type will take a longer amount of time to configure.
-
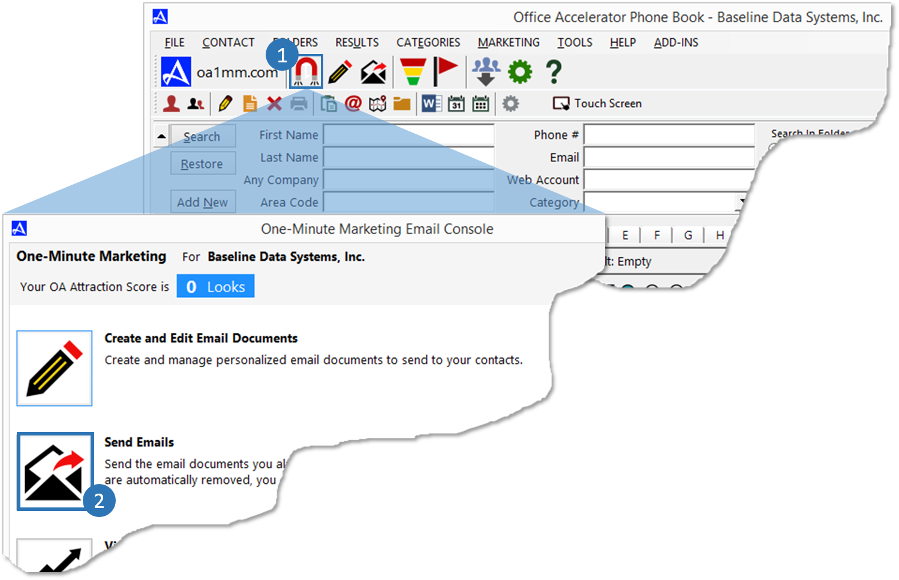
Open the Accelerator phone book and launch the |Marketing Email Console|. Click the button entitled |Send Emails|.
-
Review the |How it Works| section and click the |Next| button to continue.
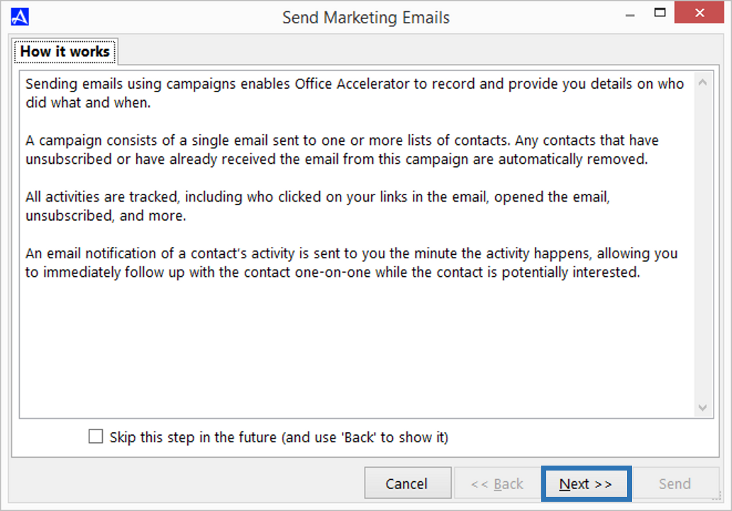 To turn off the 'How it Works' step, check the box entitled |Skip this Step in the Future|.Sending emails using campaigns enables Office Accelerator to record and provide you details on who did what and when. A campaign consists of a single email sent to one or more lists of contacts. Any contacts that have unsubscribed or have already received the email from a given campaign are automatically removed. All activities are tracked, including who clicked on your links in the email, opened the email, unsubscribed, and more. An email notification of a contact’s activity is sent to you the moment the activity happens, allowing you to immediately follow up with the contact one-on-one while the contact is potentially interested in your product or service.
 -
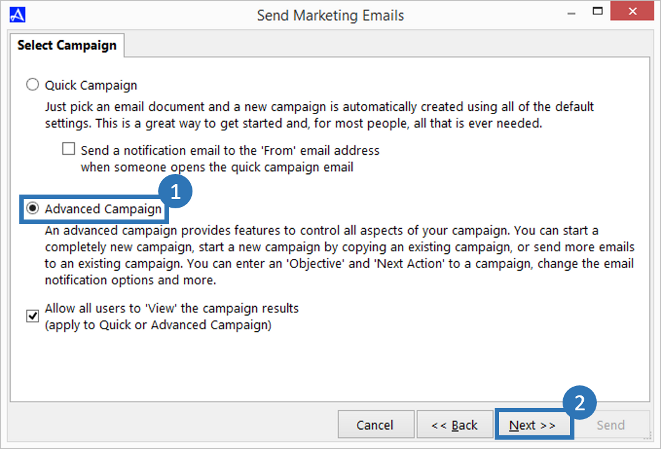
From the |Select Campaign|screen, make sure |Advanced Campaign| is selected, then click the |Next| button.
-
From the |Email Marketing Campaigns| screen, click the |New| button to create a new campaign.
All emails sent using Accelerator Email Marketing are organized into campaigns. Organizing emails into campaigns provides the ability to track multiple emails sent over time. You cannot send to the same email address more than once within a campaign, but you can add additional contacts to your campaign. To send to the same email address again, you can create a new campaign.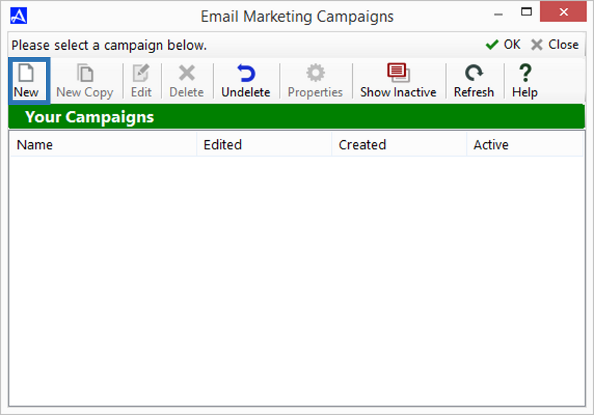
-
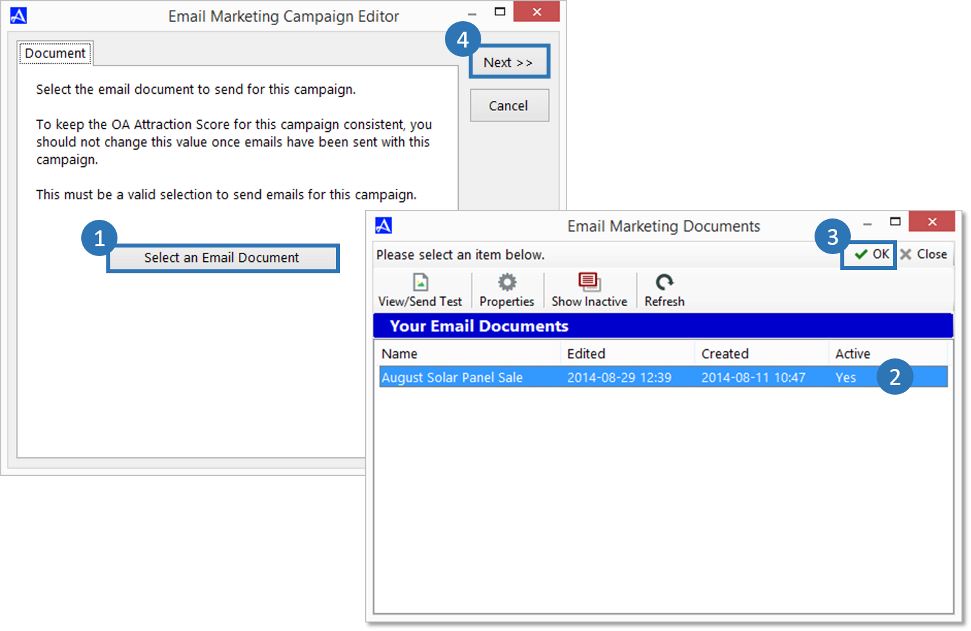
Select the email document you would like to include in your campaign, then click the |Next| button.
-
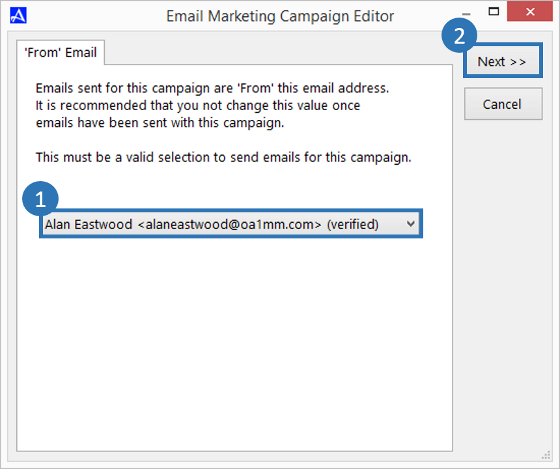
Make sure the proper verified email address is selected and click the |Next| button.
-
Each email that is sent to your recipients contains links to your marketing website. This website provides information about you or your company as well as referral, unsubscribe and privacy policy information.
-
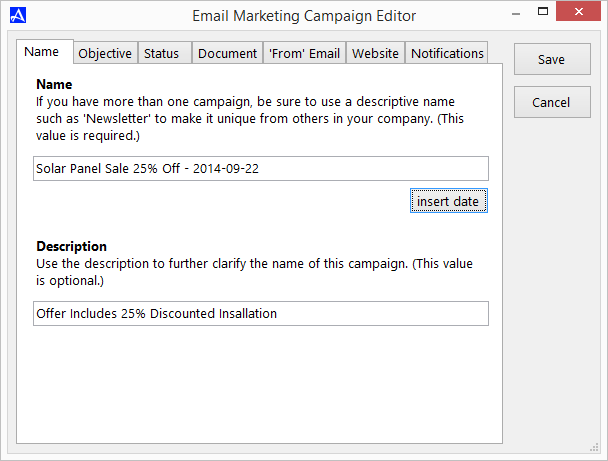
From the |Name| tab within the Email Marketing Campaign Editor you can enter a Name and Description for your campaign.
-
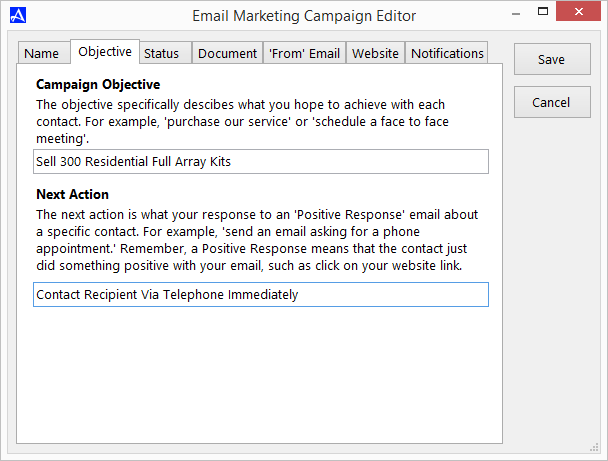
From the |Objective| tab within the Email Marketing Campaign Editor, enter an objective for the campaign as well as a 'Next Action'. A 'Next Action" is used to specify the type of action to take upon receiving a positive response from an email recipient, such as calling the customer immediately, or following up with an email message etc.
-
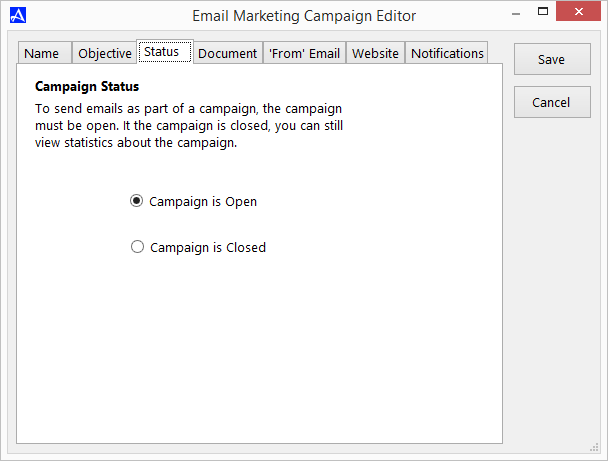
You can use the |Status| tab to open or close a campaign. To send emails to a campaign, the campaign must be opened.
-
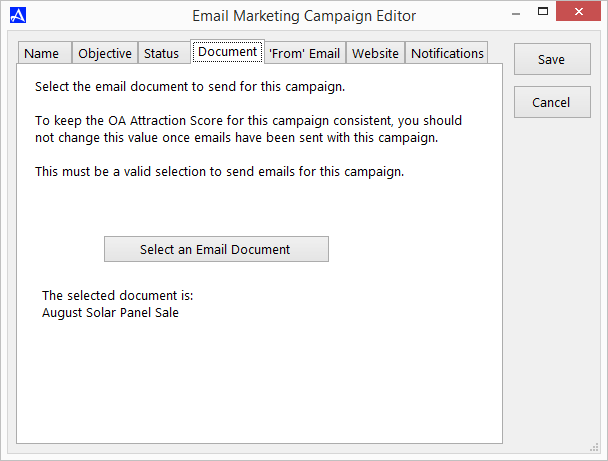
Use the |Document| tab to verify or select a new email document for use with your campaign. To select a new email documents, click the |Select an Email Document| button.
-
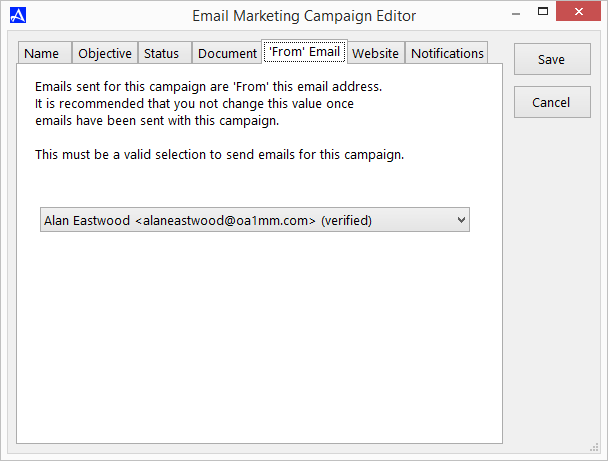
Use the |'From' Email| tab to verify or select a verified email address. The emails sent from your campaign will be from the verified email address selected within this section.
-
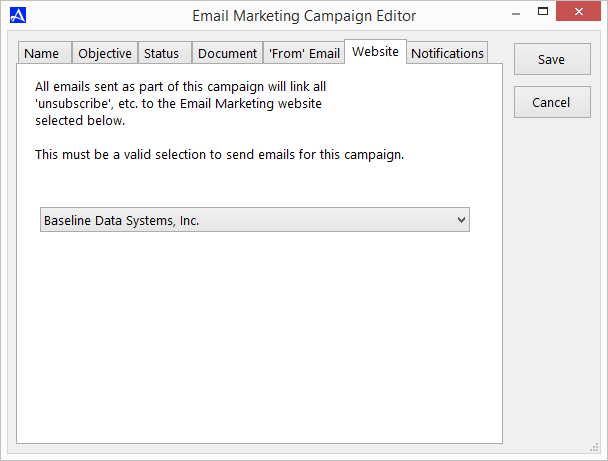
Use the |Website| tab to verify or select the Email Marketing web site linked to your campaign. This site contains information about you or your company, referral, and unsubscribe information.
 Referrals are automatically entered into your Accelerator database and are added to the referrals folder within the |Marketing| Tab as well as within the |Sent Emails| tab within the |Friend that was Referred| folder. The client that referred the contact to you is added to the |Referred a Friend| folder also located within the |Sent Emails| tab.The |Marketing Tab| folders represent the sum of all campaign activity and can be manually modified. For instance, bad email addresses can be manually fixed and the contact removed from the bad email address folder, or contacts can be manually added to the unsubscribe list. Whereas the |Marketing| tab folders represents the conglomerate of all campaigns (Customers, Prospects, Subscribes, Unsubscribe, Referrals, Referral Sources, No Email Addresses, Bad Email Addresses, & Bounced Email) as well as any manual modifications, the |Sent Emails| tab folders are Read-Only and represent the statistical activity of a particular campaign.
 -
The |Notifications| tab is used to select and modify the types of notifications that are received by Accelerator users when a particular activity takes place on an email sent from a campaign. By default, the verified email address selected within the |'From' Email| tab will receive notifications, however, additional verified email addresses can be selected to receive these notifications. Click the |Save| button to move to the next step.
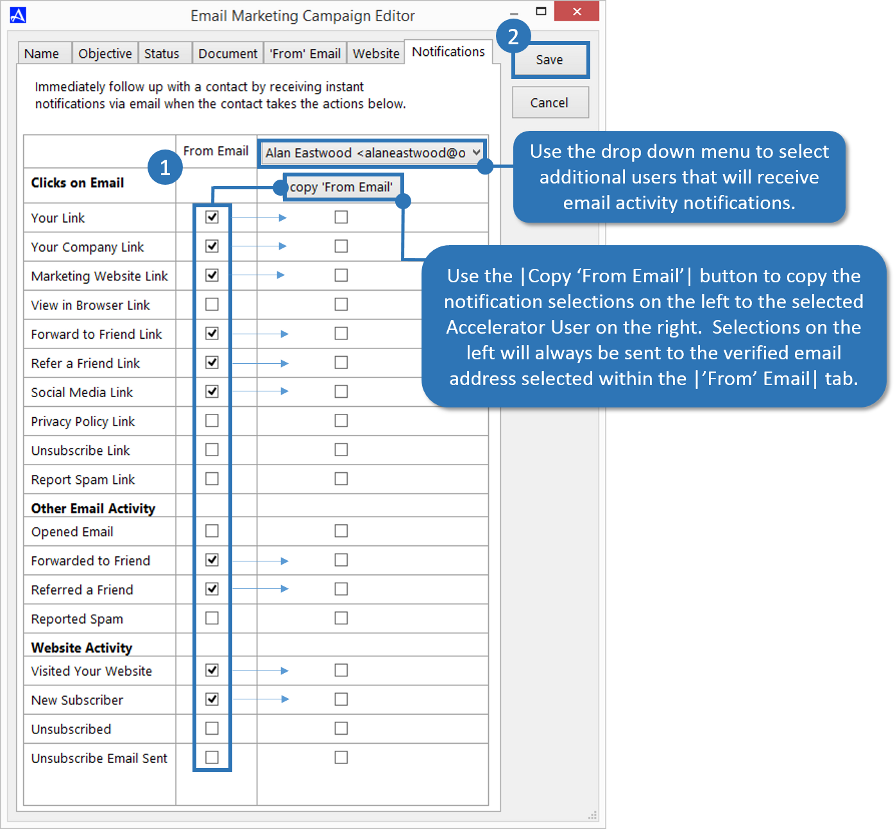 Note that only one email address per Accelerator user can be configured to receive notifications.Accelerator can be configured to notify you when certain events occur relating to your email. Those events include clicks on any user defined link, company link, marketing website link, view in browser link, forward to friend link, refer a friend link, social media link, privacy policy link, unsubscribe link, report as spam link, opened email, email forwarded to a friend, email referred to a friend, email reported as spam, visits to your marketing website, new subscriber, unsubscribed, and unsubscribe email sent (If recipient is not unsubscribing from unsubscribe link, a confirmation unsubscribe email is sent).
 -
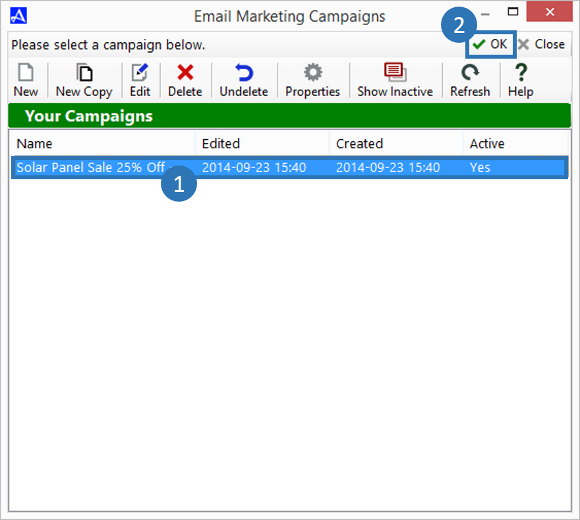
Select your campaign, then click the |OK| button.
-
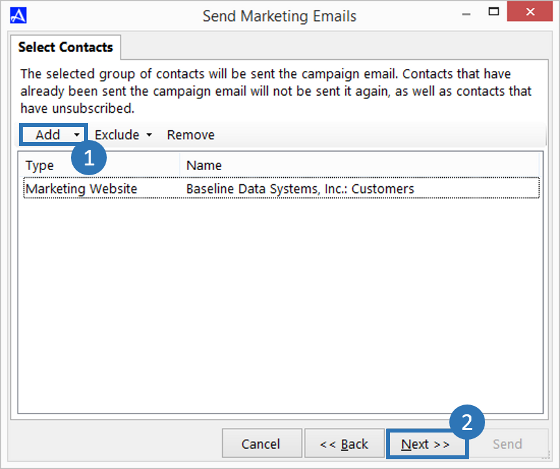
Select the folder list you wish to send your email to by clicking the |Add| button. Use the exclude button to include lists and the |Remove| button to remove them.
-
Review your selection and click the |Next| button to continue. You can use the |Calculate Contacts| button to calculate your send list.

-
To send your campaign, check the |I Agree to the Terms and Conditions| box, then click the |Send| button.
