Edit Custom Field Panels
Custom Field Panels are used to organize and categorize Custom Fields in Office Accelerator. For example, you may have billing information stored in custom fields such as Social Security Number, Credit Card Number, and Invoice Number etc. which could be added to a Custom Field Panel called Billing Records. To create a Custom Field Panel, follow the directions below.
-
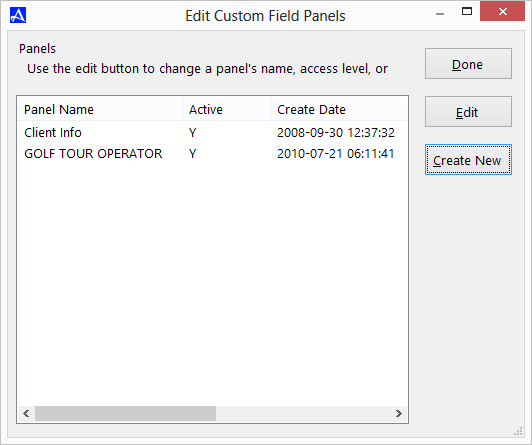
From the |File| menu within the Office Accelerator phone book, select |Edit Custom Field Panels|.
-
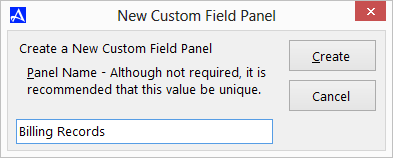
Click the |Create New| button and enter the name for your new Custom Field Panel and click |Create| button. Select |Yes| to confirm.
-
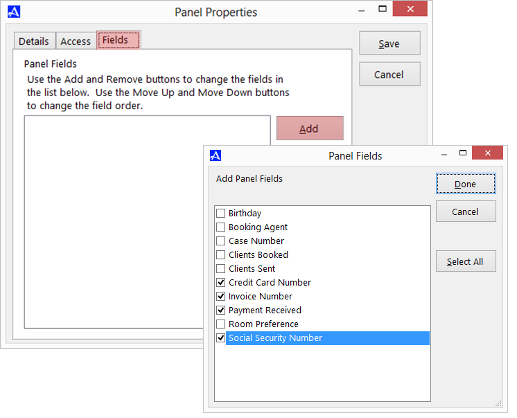
From the Panels Properties dialog box click the |Fields| tab then click the |Add| button. Place a check next to the custom fields you would like to include in the custom field panel. Once you have made your selections, click |Done|, then |Save| then |Done|.
-
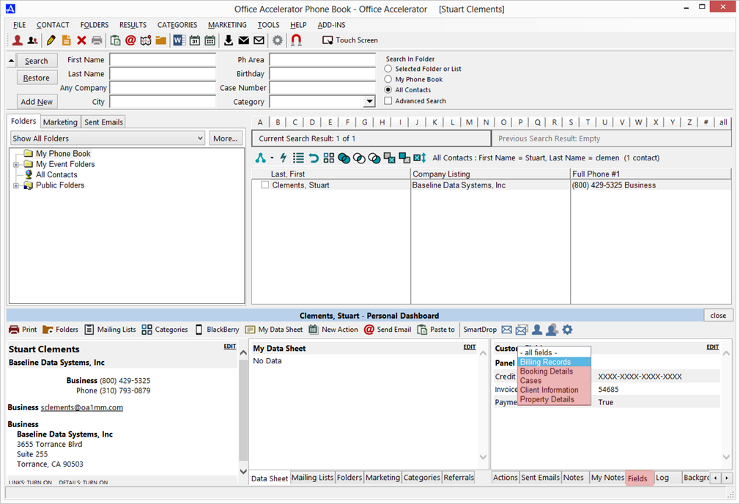
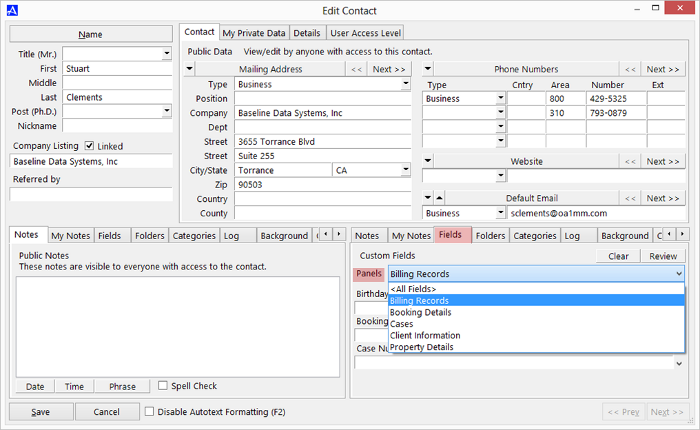
From the Office Accelerator |Contact Edit Screen|, panels can be accessed from the |Fields| tab. To filter and view only the custom fields within a panel, select the appropriate panel from the drop-down list.
-
You may also view and filter Custom Field Panels from the Personal Dashboard by selecting the |Fields| tab and the appropriate panel from the panel drop down list.